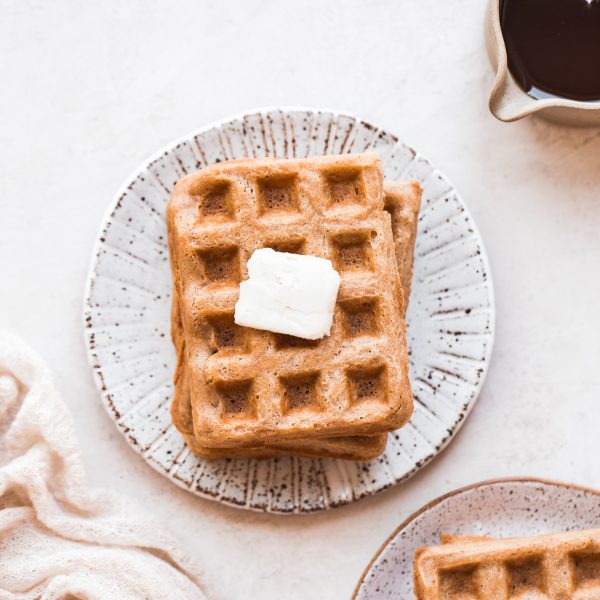
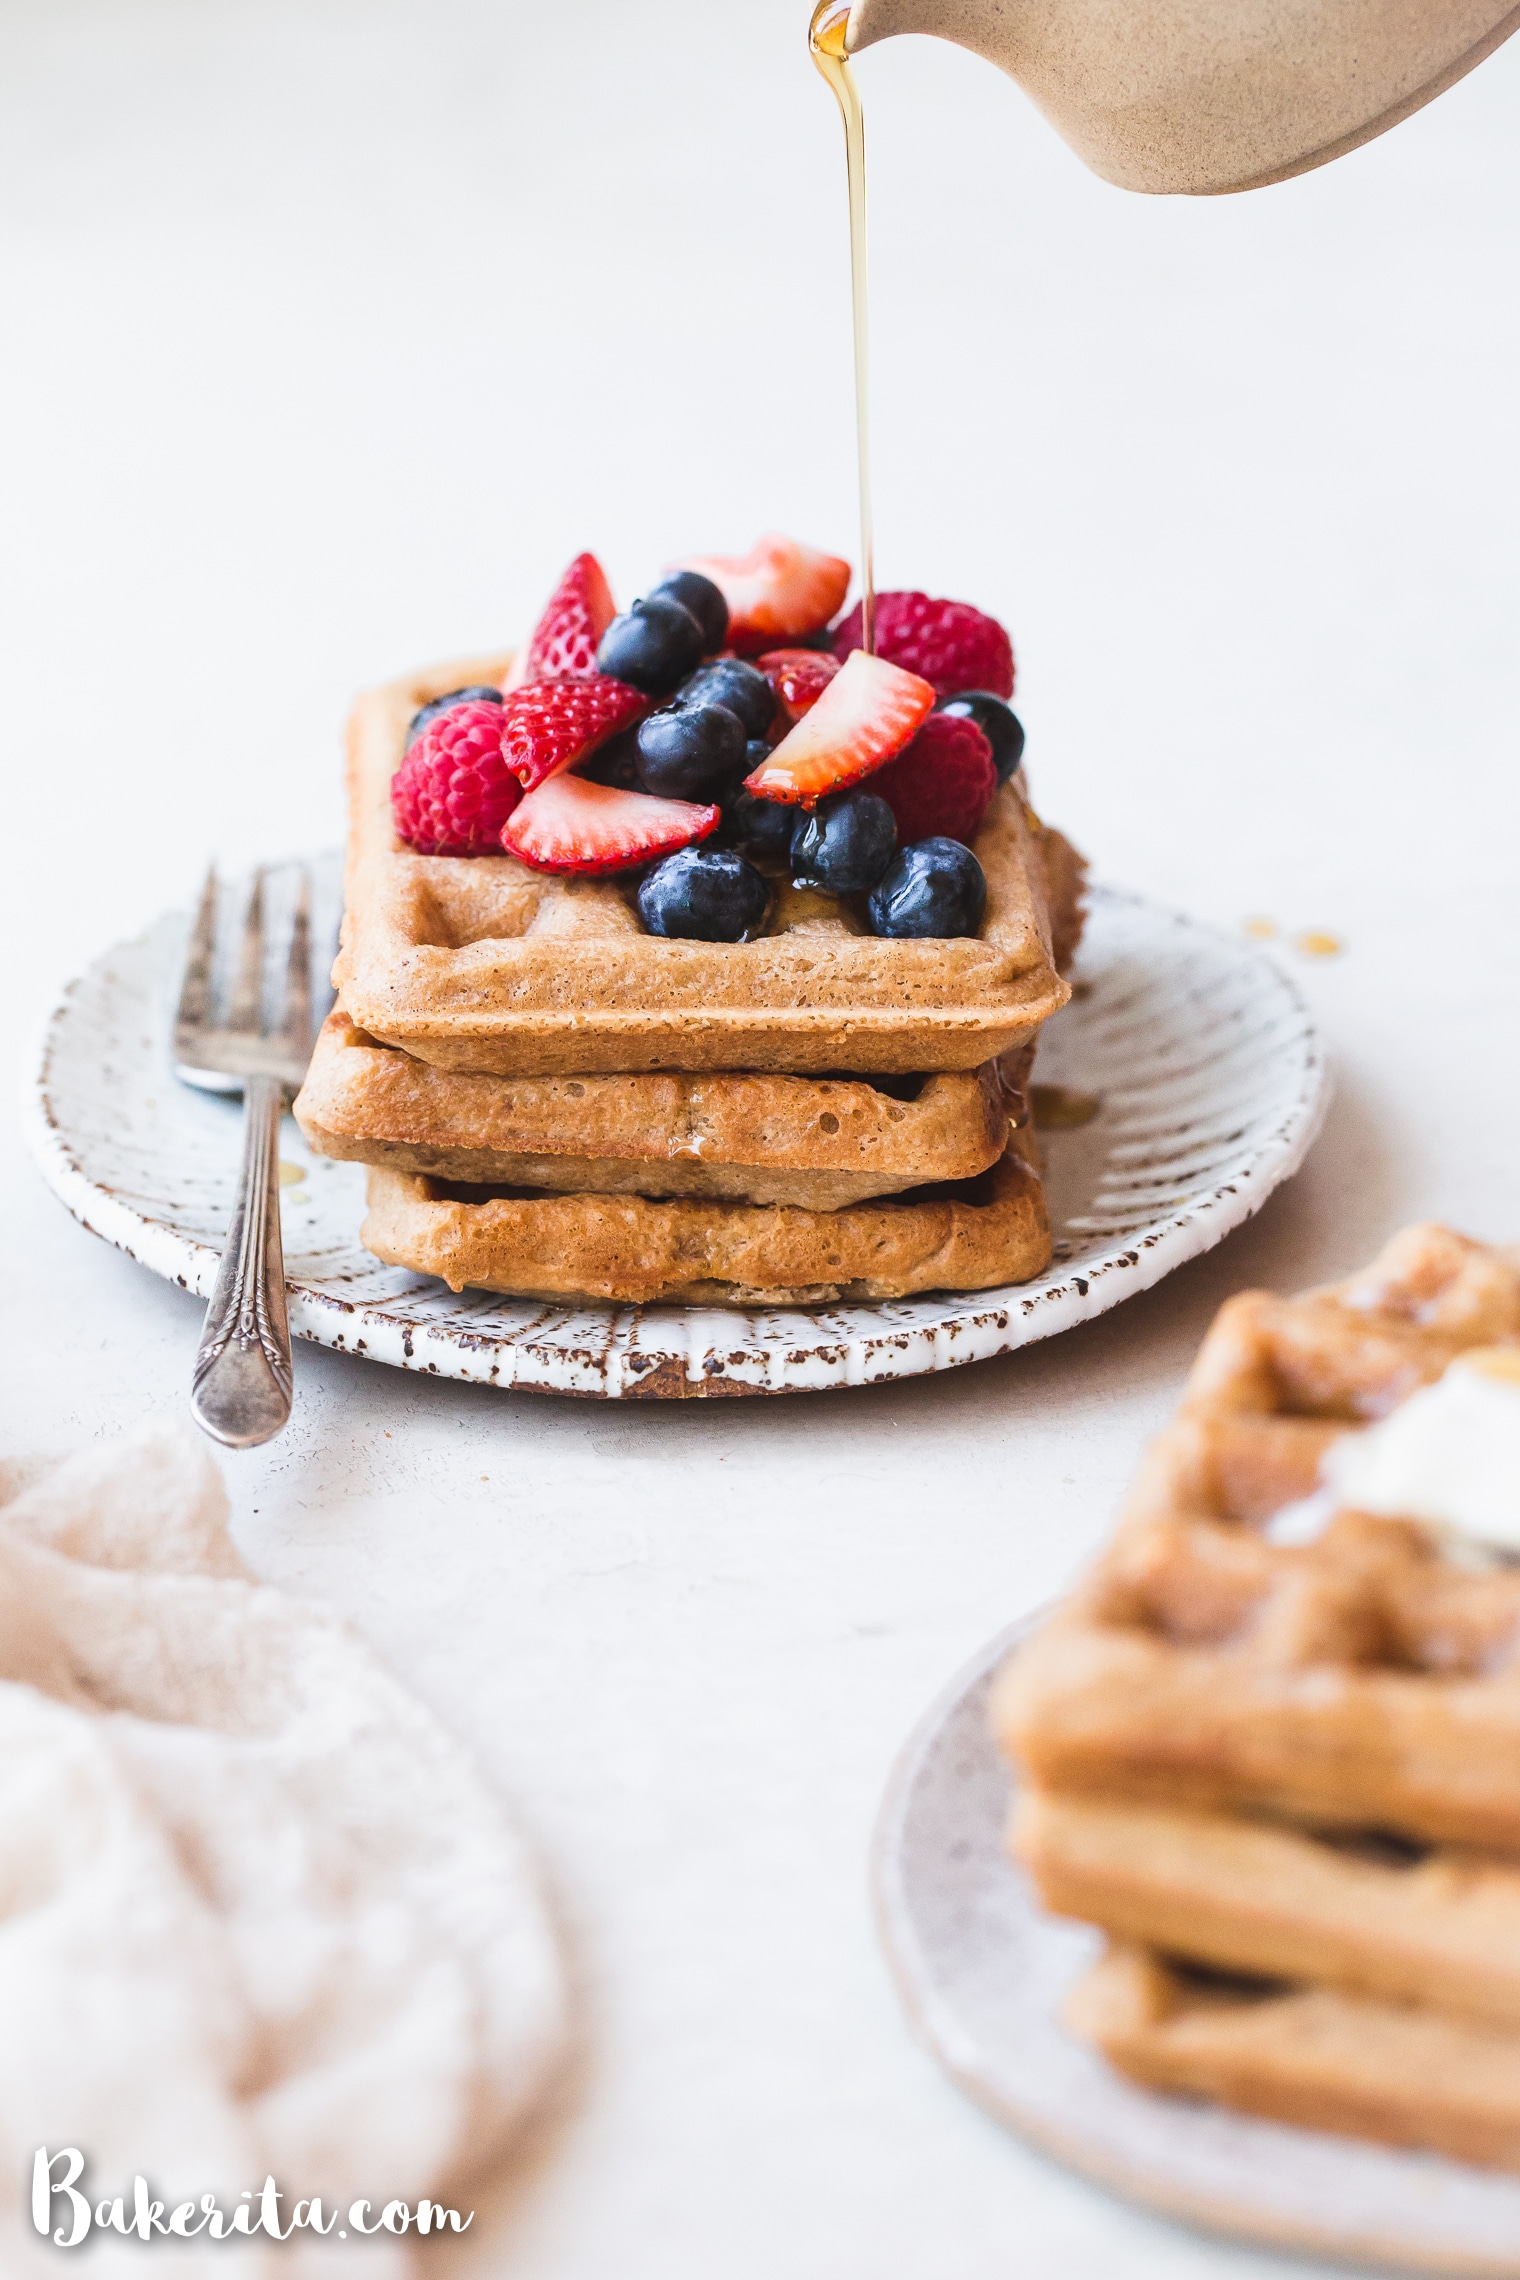
These Gluten-Free Vegan Waffles are incredibly light, crispy on the outside, and fluffy on the inside. Made with almond flour and tapioca flour, they come together in 25 minutes and are perfect for making ahead and freezing for busy mornings. Naturally egg-free, dairy-free, and paleo-friendly.
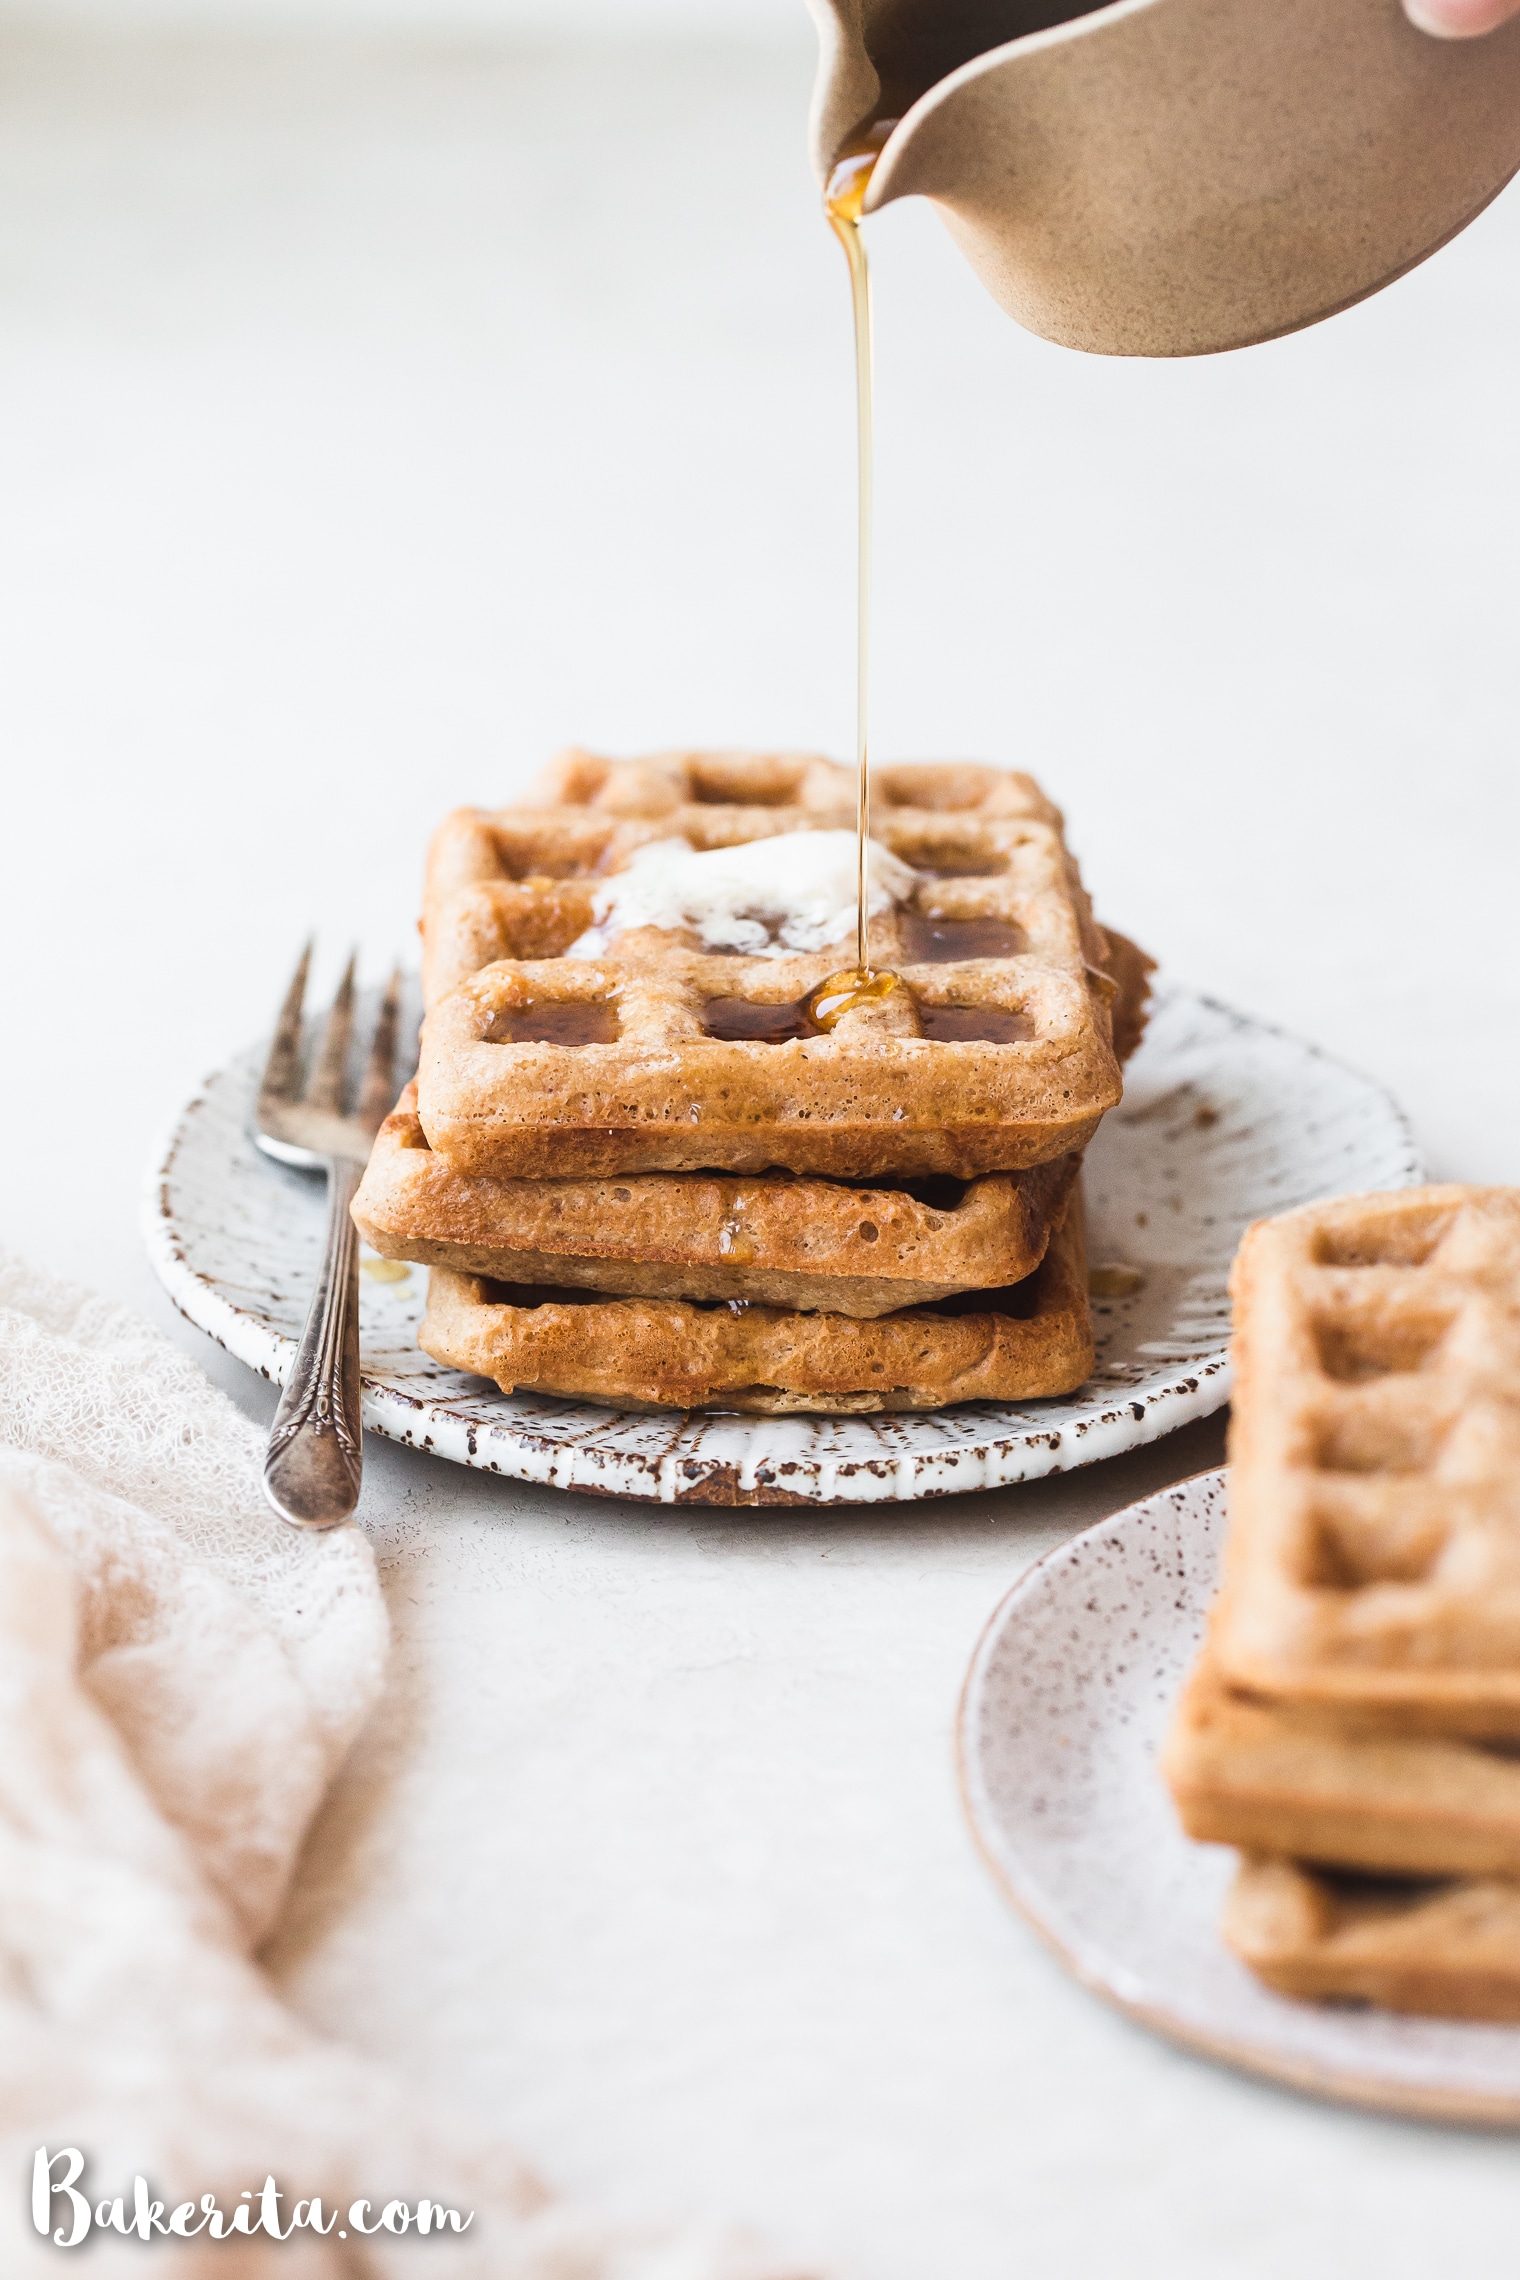
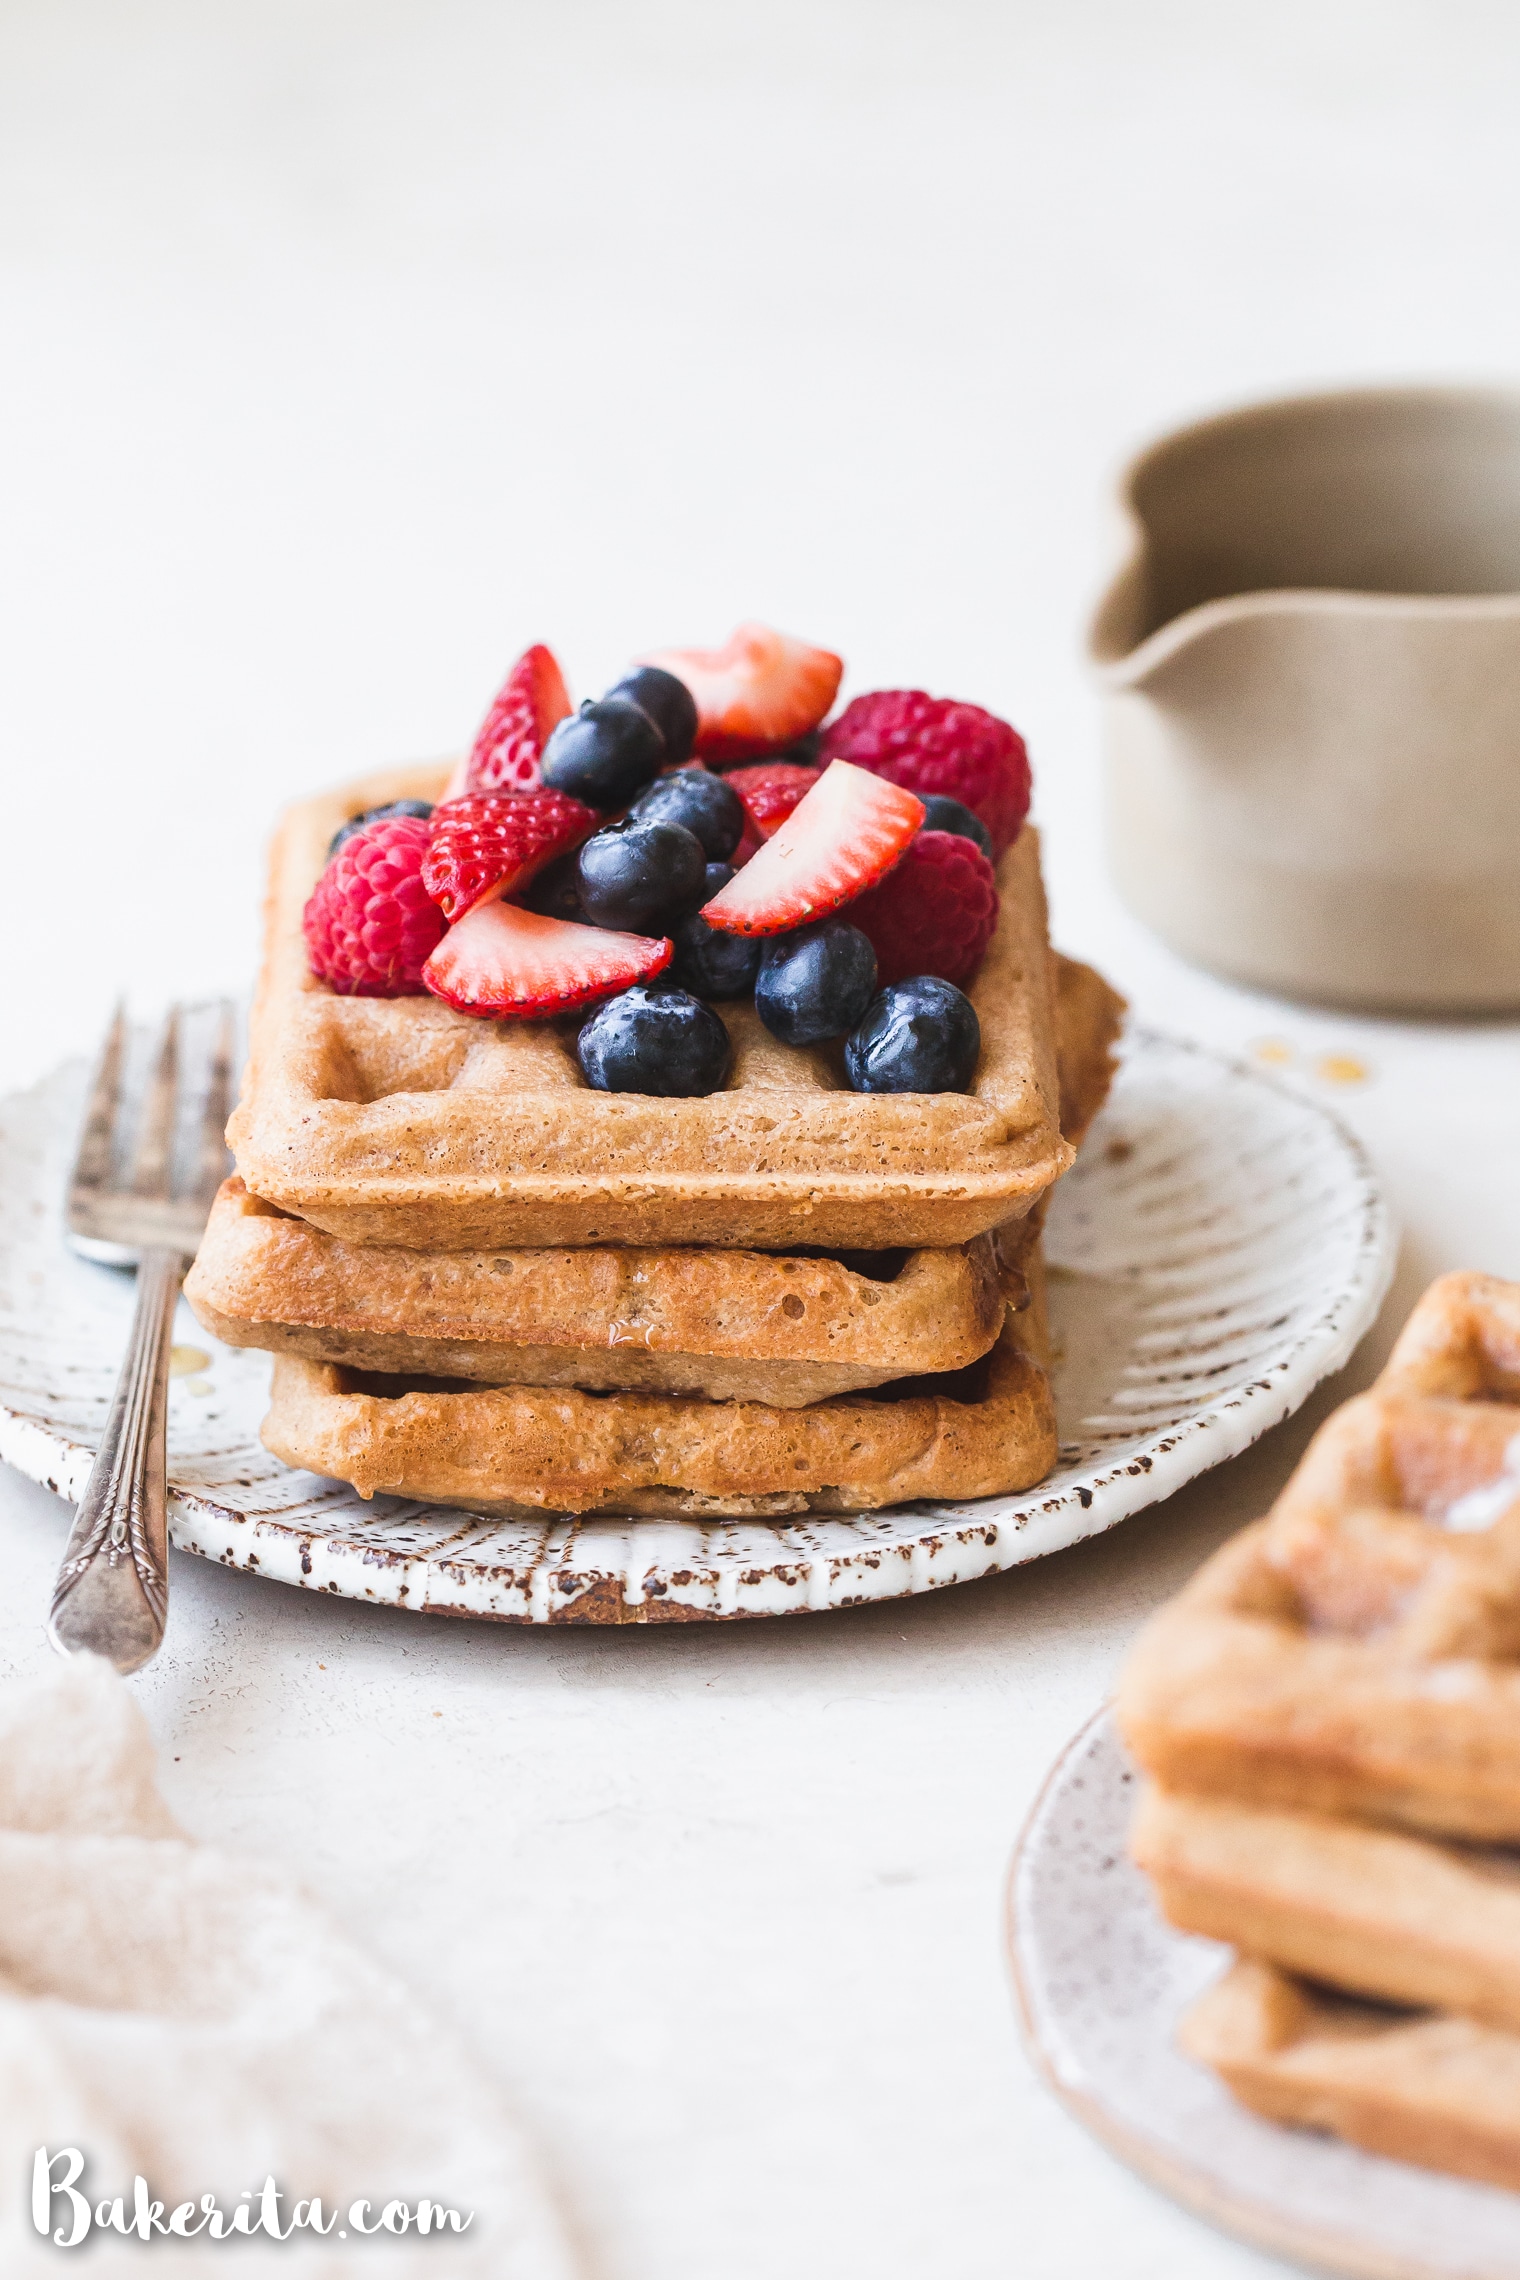
When it comes to waffles versus pancakes, waffles win every single time. Those crispy edges are everything to a crunch lover like me, and these gluten-free vegan waffles deliver exactly that: a golden, crispy exterior with a tender, fluffy inside that holds up beautifully under a pile of fresh berries and maple syrup.
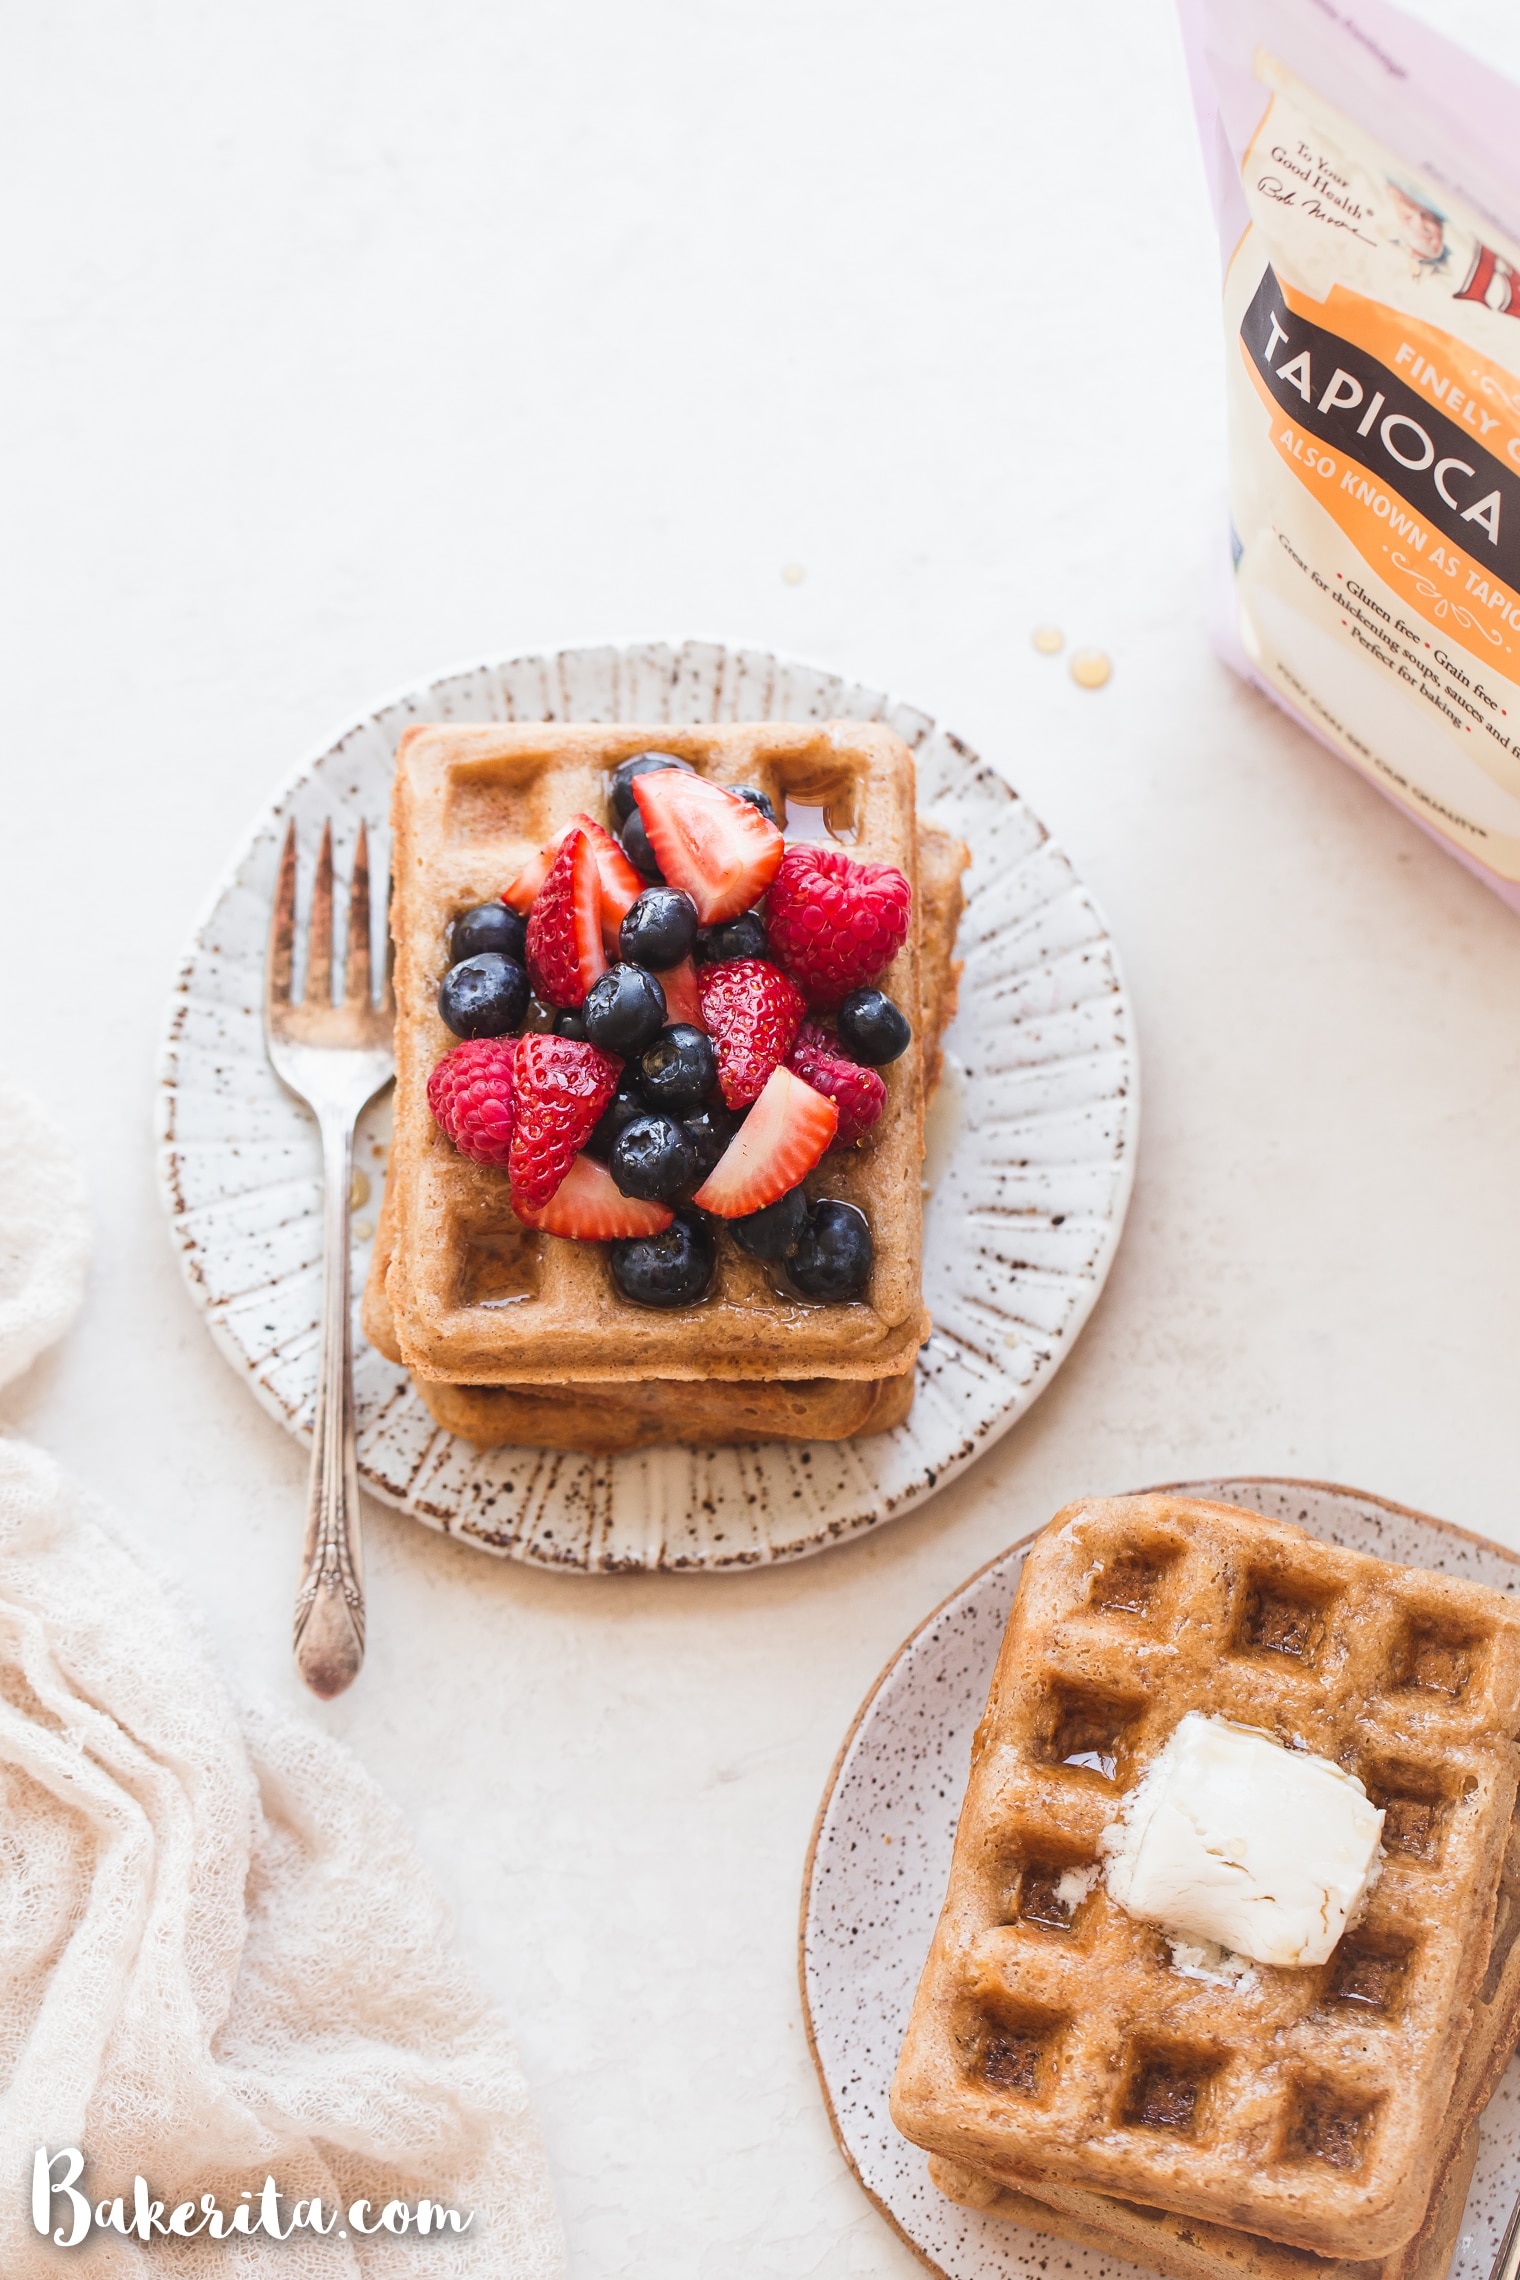
This recipe uses two flours, blanched almond flour and tapioca flour, to create a batter that is light, easy to work with, and completely grain-free. There are no eggs, no dairy, and no refined sugar, which makes these waffles a breakfast you can feel great about. And since they freeze so well, one batch gets you through the whole week.
Why you’ll love these gluten-free vegan waffles
- Endlessly versatile with sweet or savory toppings
- Crispy on the outside, tender and fluffy on the inside
- Ready in 25 minutes with simple pantry ingredients
- Egg-free, dairy-free, and refined sugar-free
- Paleo-friendly and grain-free
- Freezer-friendly for easy weekday breakfasts
A few notes on key ingredients
Blanched almond flour and tapioca flour work together to create the ideal texture here. The almond flour gives the waffles body and richness, while the tapioca flour is what creates that satisfying crispy exterior. Make sure to use blanched almond flour rather than almond meal, as almond meal is coarser and will affect the texture.
Apple cider vinegar combined with dairy-free milk creates a quick vegan buttermilk that activates the leavener and gives the waffles extra lift. White vinegar or lemon juice works as a substitute.
Coconut sugar is worth keeping in, even if you are cutting back on sweetener. It helps the waffles develop that beautiful golden crust and adds just a hint of caramel flavor.
Tips for the best gluten-free vegan waffles
Use a good waffle iron. This is the single biggest factor in waffle success. A waffle iron with uneven heating or a worn non-stick coating leads to sticking and uneven browning. It does not need to be expensive, but it does need to heat evenly and have a good non-stick surface.
Let the batter rest. Even just 3 to 5 minutes of resting time allows the flours to absorb the liquid and the batter to thicken, which gives you a better texture in the final waffle.
Do not rush the cook time. Wait until the steam fully stops before opening the waffle iron. Opening too early is the most common reason waffles tear or stick.
Grease between each waffle. Even with a good non-stick waffle iron, a light brush of coconut oil between batches keeps things from sticking and helps with crisping.
How to freeze gluten-free waffles
One of the best things about this recipe is how well the waffles freeze. Here is the process:
- Let the waffles cool completely in a single layer on a wire rack. Stacking warm waffles leads to sogginess.
- Once fully cool, transfer to a resealable zip bag or airtight container.
- Label with the date. They keep well for up to 3 months.
- To reheat, toast at 350°F for 5 to 10 minutes until warmed through and crispy again. A toaster oven works great for this. A microwave can also be used, but the waffles won’t be crispy.
Serving ideas
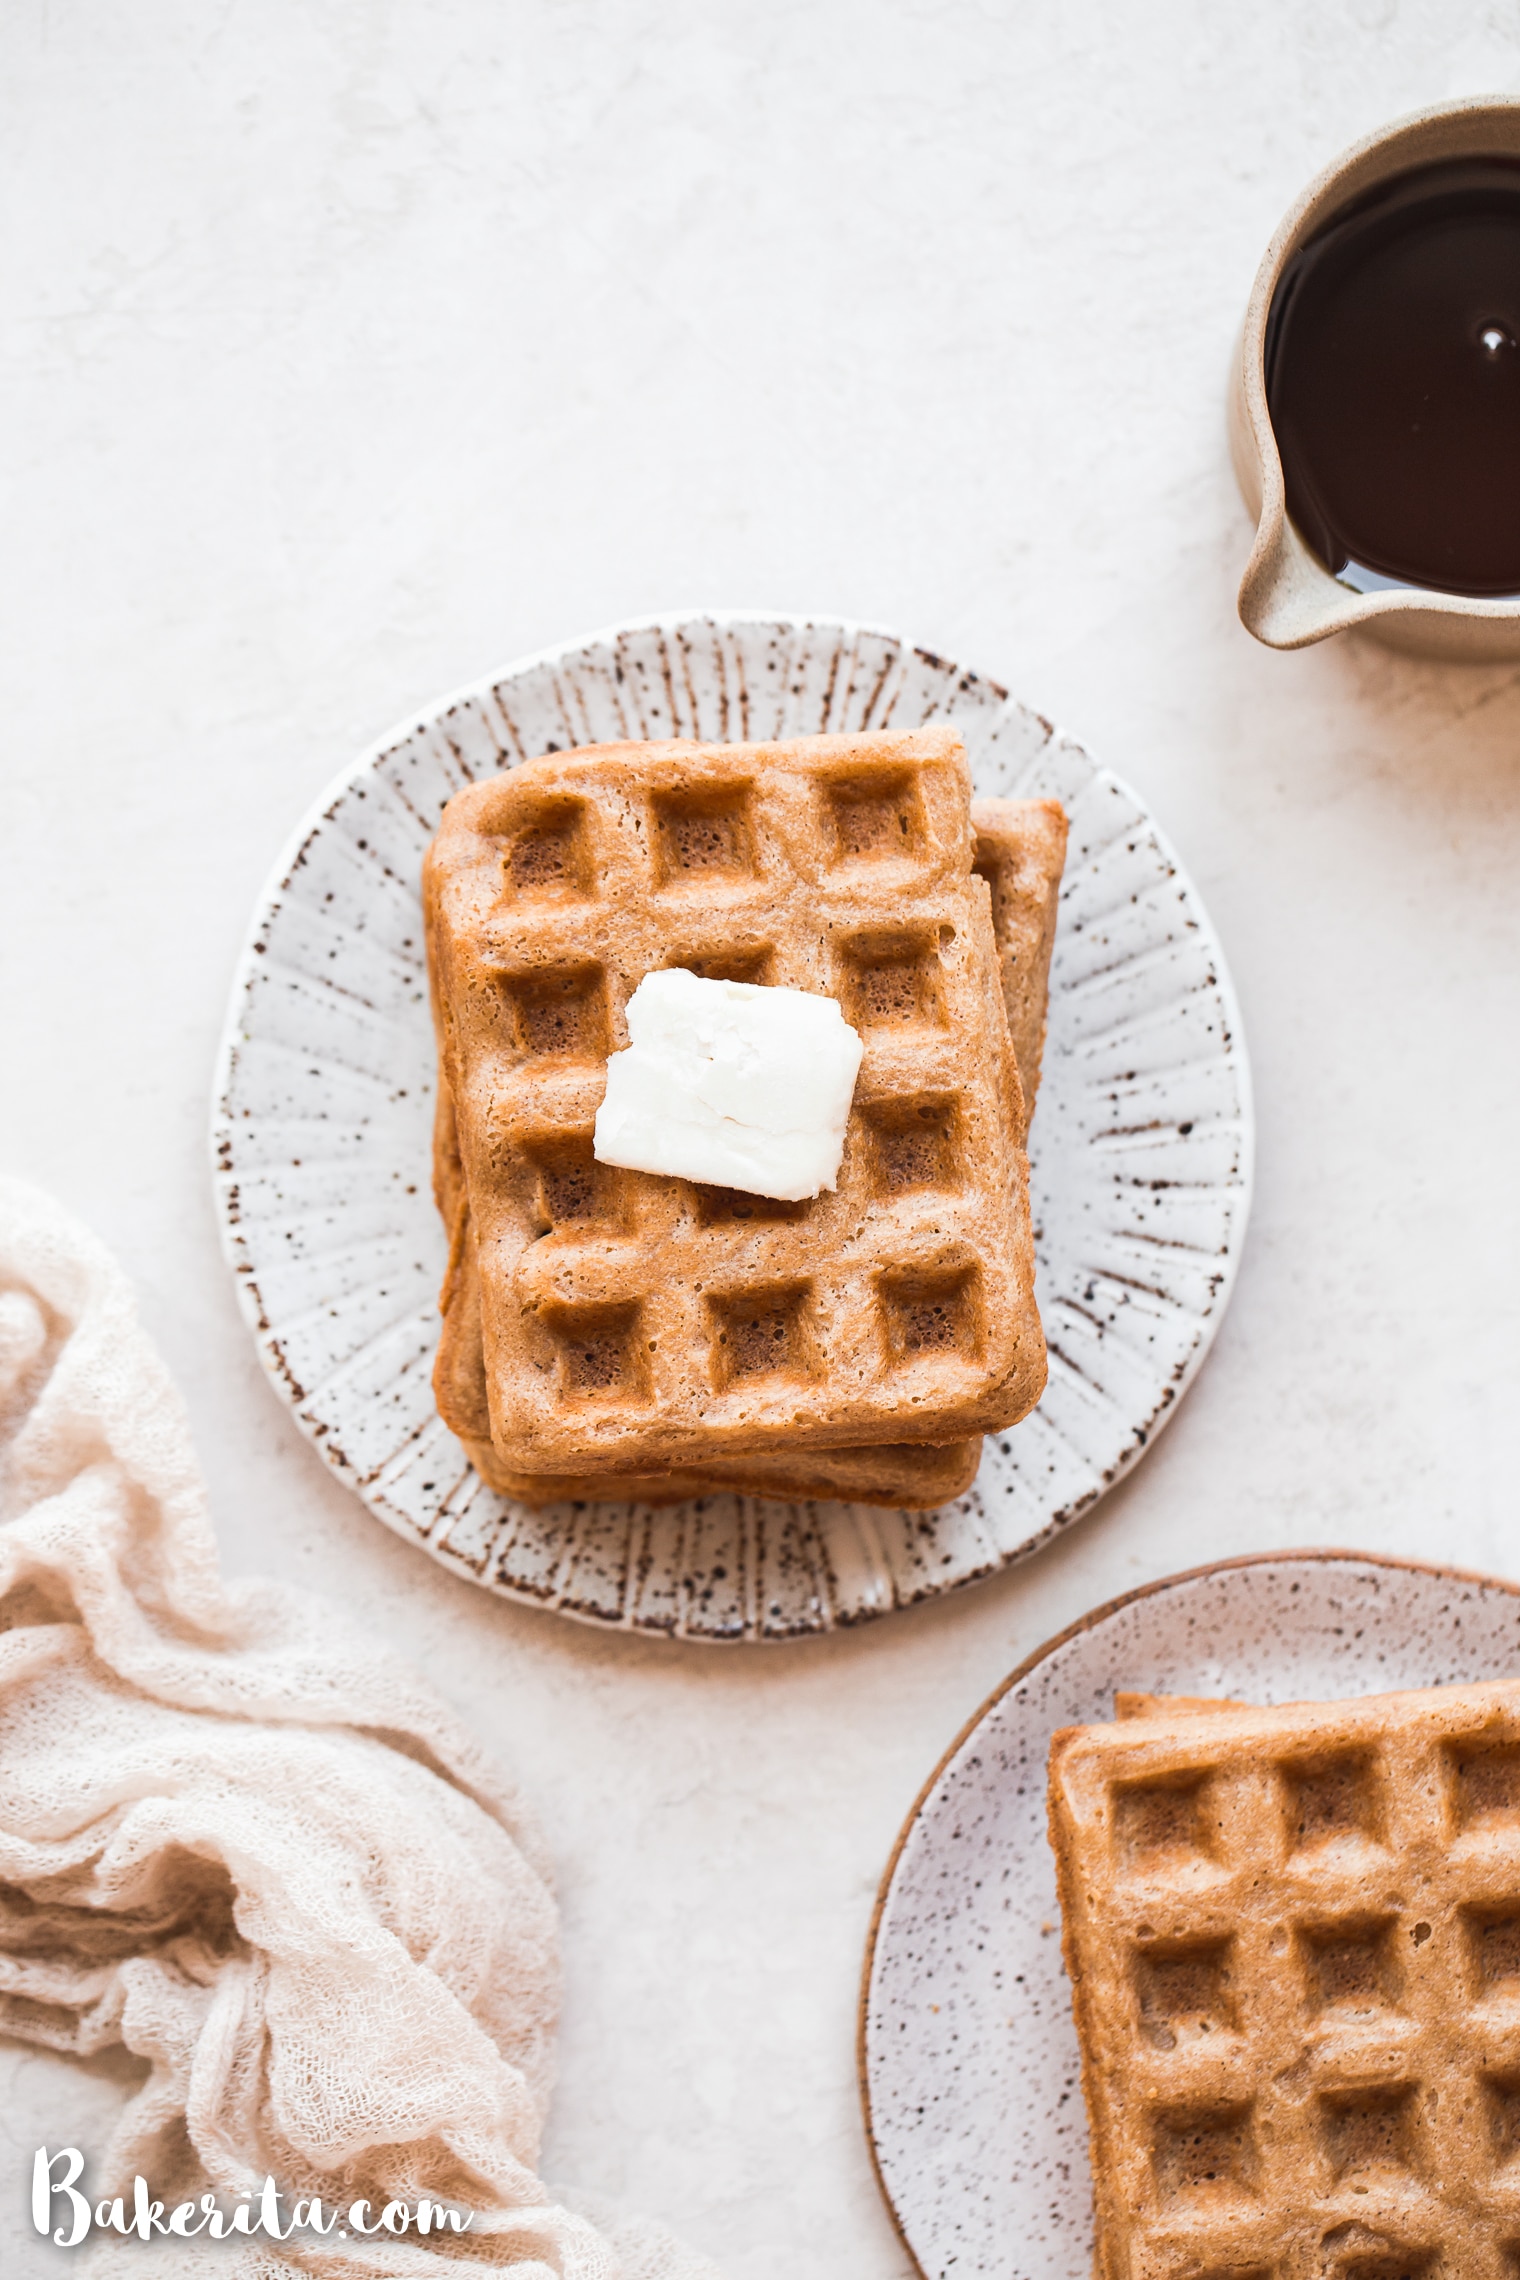
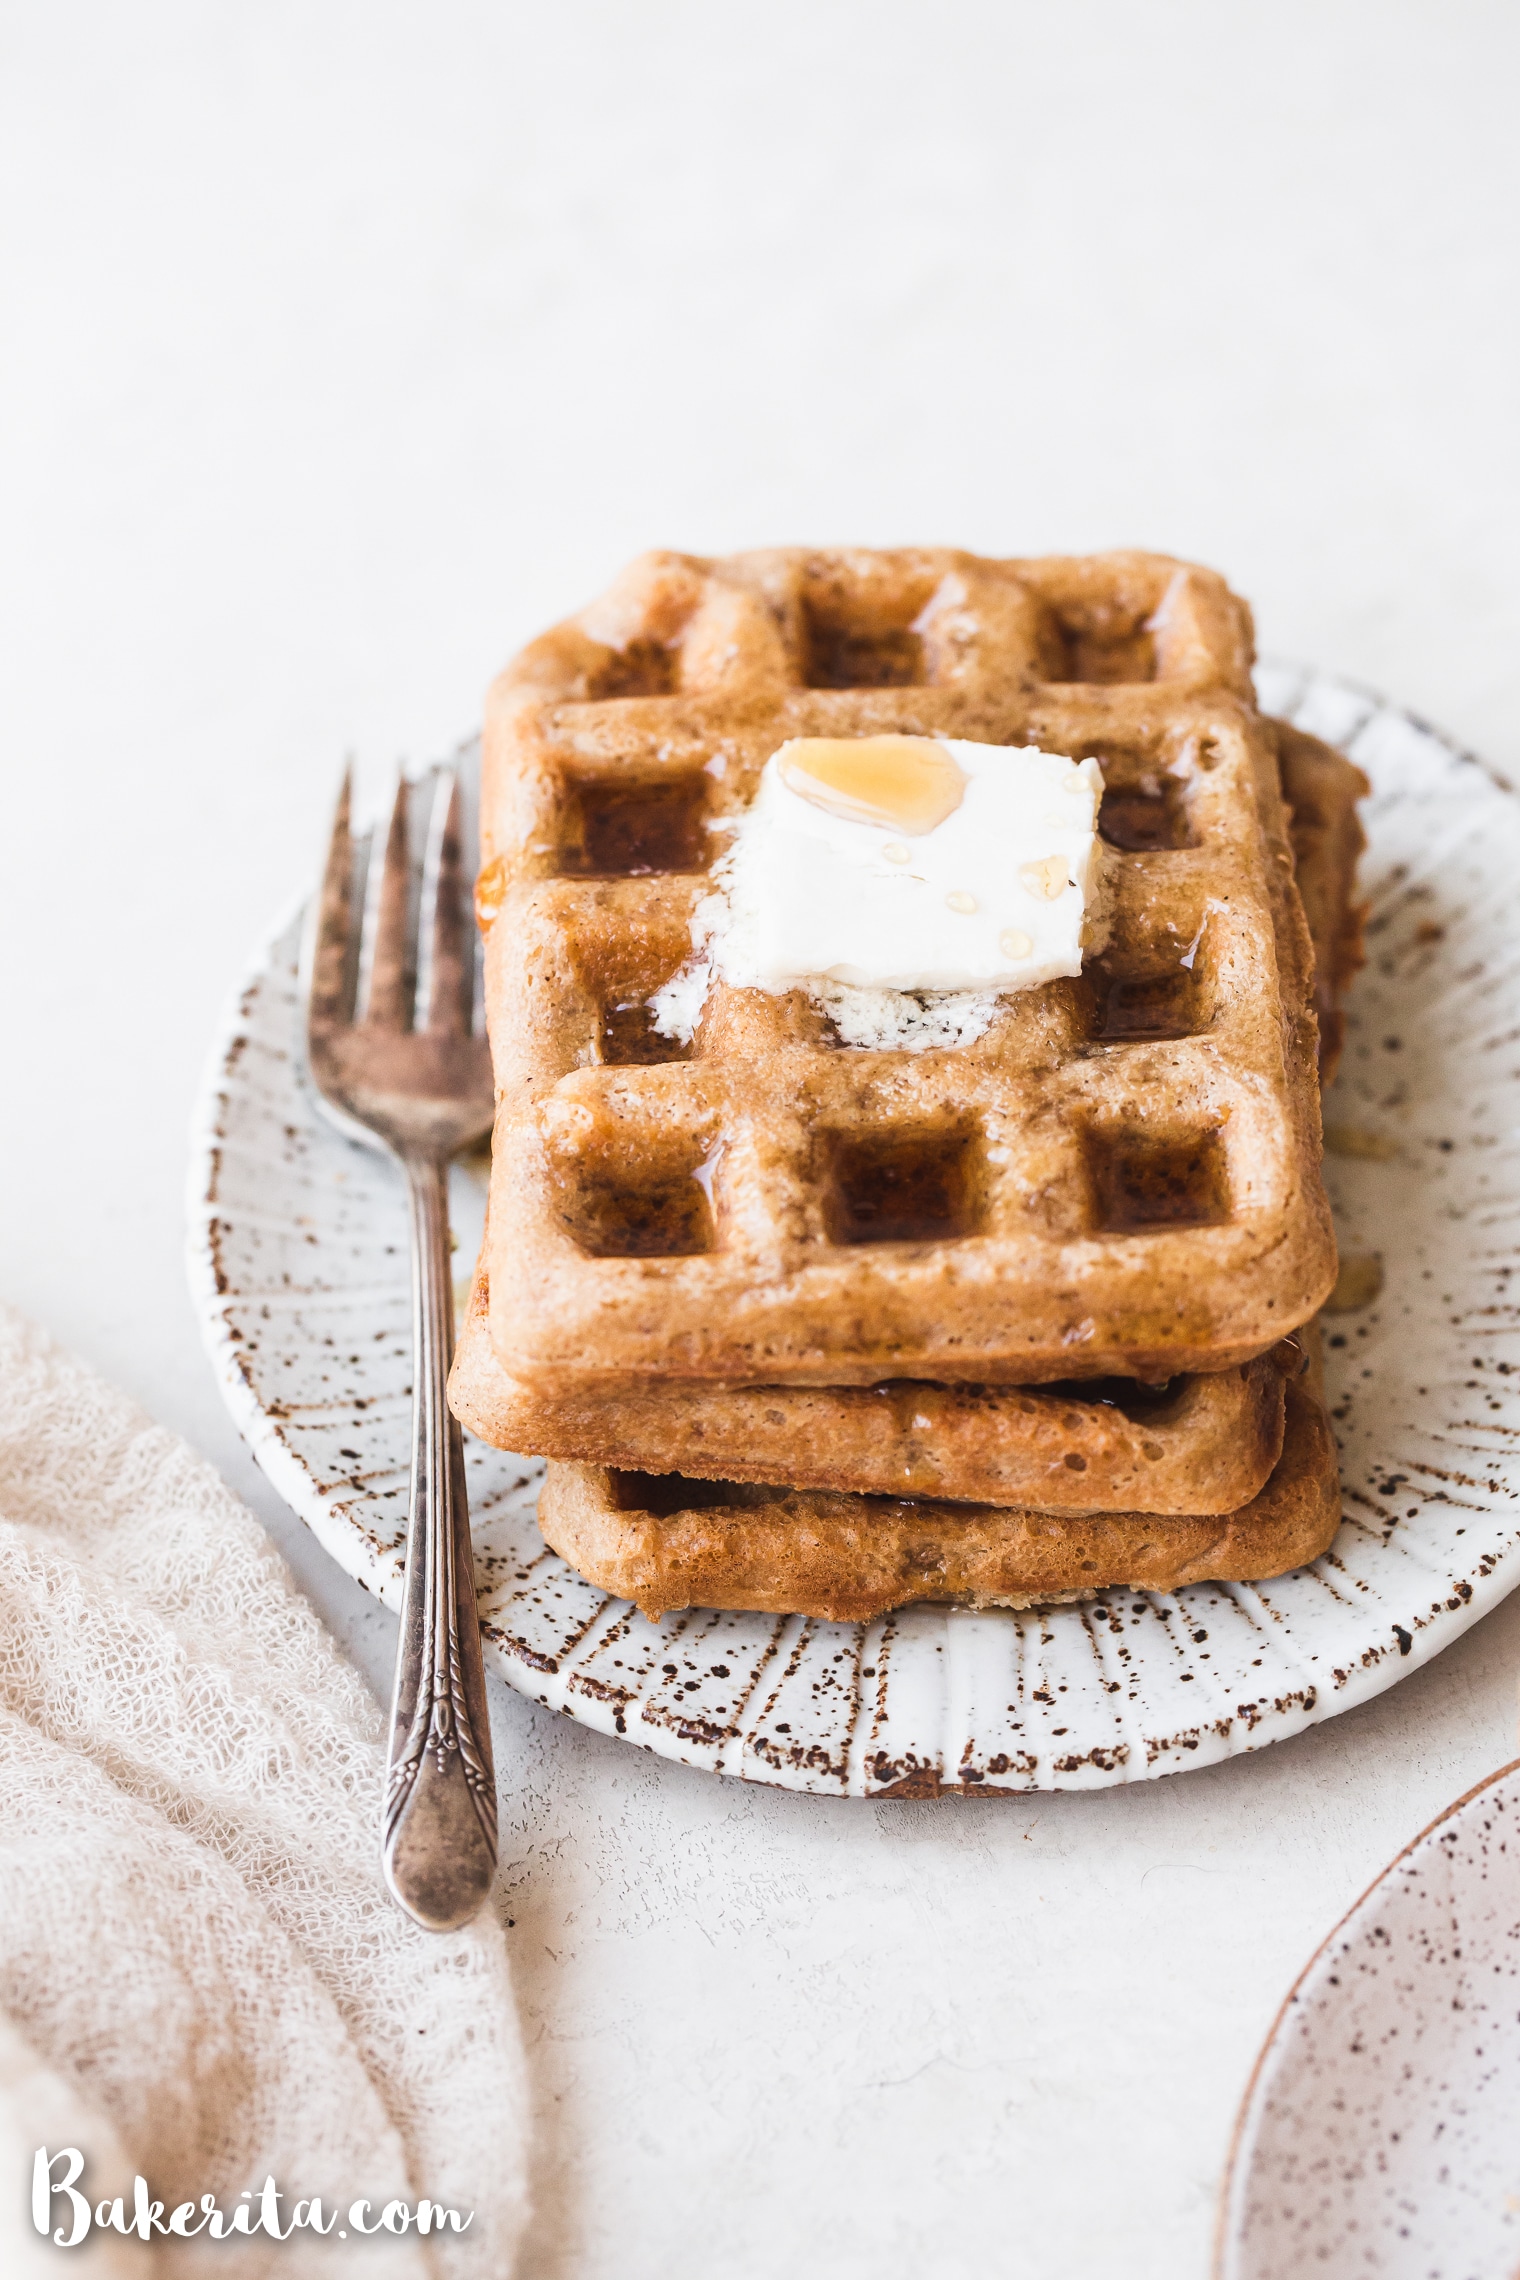
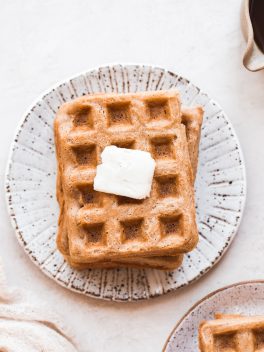
These waffles are delicious, kept simple with vegan butter and pure maple syrup, but here are a few other ways to top them:
- Fresh fruit, berries, and a drizzle of nut butter
- Sauteed cinnamon apples for a cozy fall version
- Coconut whipped cream and sliced banana
- Reduce the coconut sugar to 1 tablespoon and go savory with avocado and a fried egg
More gluten-free vegan breakfast recipes
If you love this recipe, here are a few more favorites to try:
- Gluten-Free Vegan Pumpkin Waffles for a cozy seasonal variation
- Banana Blueberry Pancakes for when pancakes win
- Double Chocolate Pancakes for a weekend treat
- 5-Minute Acai Bowl for something lighter
Gluten-Free Vegan Waffles (Freezer Friendly!)
Ingredients
- 1 cup almond milk, or dairy-free milk of choice
- 1 teaspoon apple cider vinegar
- ¼ cup melted coconut oil, or avocado oil
- 3 tablespoons coconut sugar
- 2 cups Bob's Red Mill Blanched Almond Flour
- ¾ cup Bob's Red Mill Tapioca Flour
- 2 teaspoons baking powder
- ½ teaspoon cream of tartar
- ⅛ teaspoon sea salt
Optional additions
- 1 teaspoon vanilla extract
- ¼ teaspoon ground cinnamon
Instructions
- Plug in your waffle iron to let it heat up while you prepare the batter.
- In a small bowl or liquid measuring cup, combine the dairy-free milk of your choice and apple cider vinegar and let stand for 3 minutes. Whisk in the oil and coconut sugar. Add vanilla extract if using.1 cup almond milk, 1 teaspoon apple cider vinegar, ¼ cup melted coconut oil, 3 tablespoons coconut sugar, 1 teaspoon vanilla extract
- In a separate bowl, whisk together the almond flour, tapioca flour, baking powder, cream of tartar, sea salt, and cinnamon.2 cups Bob's Red Mill Blanched Almond Flour, ¾ cup Bob's Red Mill Tapioca Flour, 2 teaspoons baking powder, ½ teaspoon cream of tartar, ⅛ teaspoon sea salt, ¼ teaspoon ground cinnamon
- Add the wet ingredients to the dry ingredients and whisk to combine.
- Let the batter stand for a few minutes to thicken up.
- Lightly grease the waffle iron and add enough batter to fill the cavity. Cook according to the waffle iron’s directions until golden brown and crispy. The batter is relatively thick, so you may need to spread it out a bit when you first put it into your waffle iron.
- Repeat until all batter is gone, adding more coconut oil (if needed) between each waffle.
- Serve with your desired toppings while the waffles are still warm.
- To freeze the waffles, let them cool completely before placing them in an airtight container or zip bag and freezing. Reheat at 350°F for 5 to 10 minutes or until heated through and crisped to your liking. Best used within 3 months.


LOVE that these are freezer friendly because sometimes I want waffles during the week but just don’t have the patience to make them! Sounds fabulous, Rachel!
Yess exactly! Thank you lovely friend!
Such a comforting and easy to make recipe for waffles!
It’s my new favorite! Thanks, Harini :)
Hi!
Just wondering how thick the batter is? When you put it on the waffle maker, does it spread out on its own or is it thicker and needs to be spread with a spatula?
thanks!
Hi Sally, it’s relatively thick – it will creep into the crevices a little bit but I like to spread it out just a touch with a spoon. Thanks for asking – I’ll update the recipe to reflect that!
thanks Rachel!
They stuck to my waffle iron and fell apart. Suggestions?
Hi Niccole – my guess is it might be the waffle iron. I was testing with one where the waffles stuck really badly, and I switched to one with a better non-stick coating and more even heating and they worked great. I know it’s not an easy fix, but with waffles, that’s usually where things go wrong!!
Hi these look great! How much does it make?
Hi, it depends on the size of your waffle maker! For me, it made 8 to 10 smaller waffles.
Hi Rachel,
This recipe looks amazing! Just wondering if you know of any subs for the almond flour as hubby is allergic?
Thanks and enjoy the day!
Natasha
Hi Natasha! Cassava or oat flour should work well in it’s place :)
AWESOME! Thanks Rachel
Hi there,
Just wondering if the coconut sugar is needed as I’m trying to cut out sugar all together? Thanks
Hi Lucy, it does add a bit of crunch to the texture, as it helps them crisp, but should still be okay without.
Hello, do you know an alternative to cream of tartar? It’s hard to find in Sweden and I’m really wanting to do these since they are perfect for my vegan lectin free diet! Thanks :)
/Lina
Hi Lina, you should be okay to just leave it out!
What is the use of the apple cider vinegar. I can’t have apples. Will regular vinegar work or can it be omitted all together? Looks so good!
Hi Suzanne, it helps activate the leavener and gives extra lift. You can definitely use any vinegar you have, white will work just fine for this, or use lemon juice!